WordPressテーマ「THE THOR」には、ショートコードとしてサイトカード・ブログカードが用意されています。
サイトカードは外部リンクに使用できるもの、ブログカードは内部リンクに使用できるものになっています。
外部リンクもカードで表示できるテーマは珍しいですね。
今回はそんなサイトカード・ブログカードのデザインをカスタマイズする方法をご紹介します。
コピペで簡単に使用できますので、ぜひご利用ください。
目次
サイトカード・ブログカードの設定方法
まずは、標準のサイトカード・ブログカードを設定する方法をご紹介します。
記事投稿画面からビジュアルエディタを使用されている方は、「ショートコード」のカスタマイズ項目からサイトカード・ブログカードを挿入することができます。
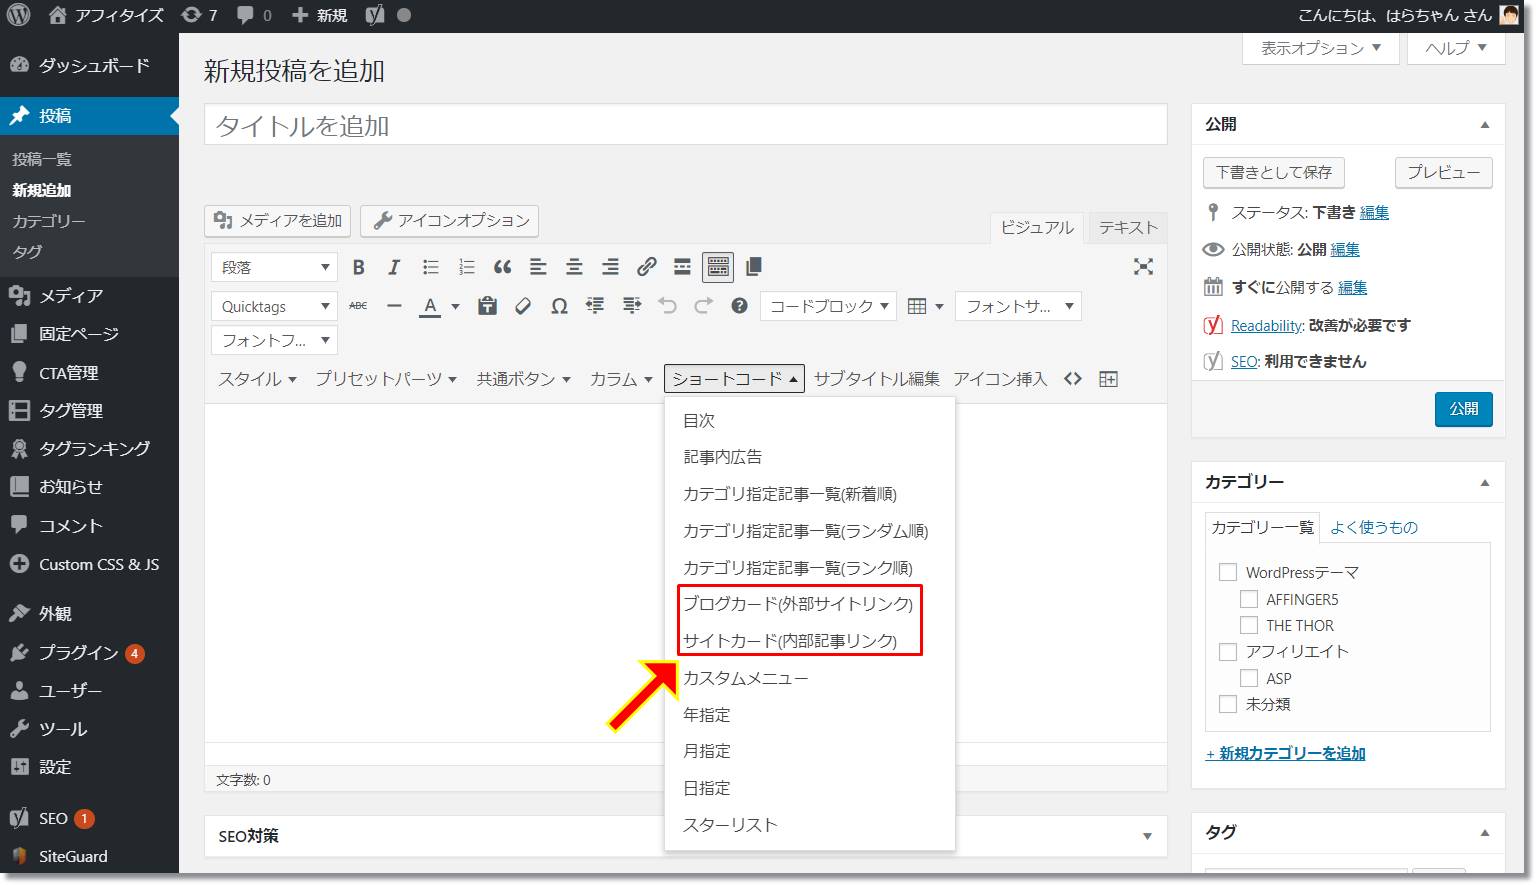
挿入したら、下記のようなショートコードが挿入されます。
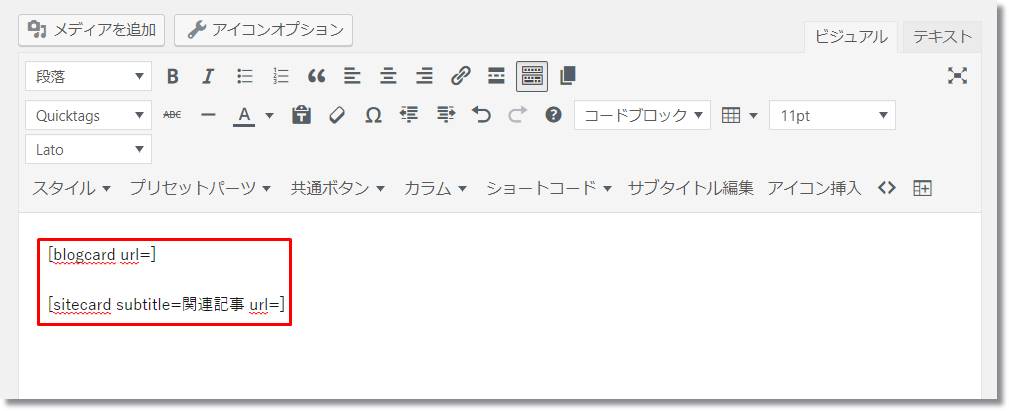
「=」以降にURLを記載しましょう。
シングルクォーテーションやダブルクォーテーションなどは不要です。
URL記入後は下記のようにカード形式でリンクが表示されます。
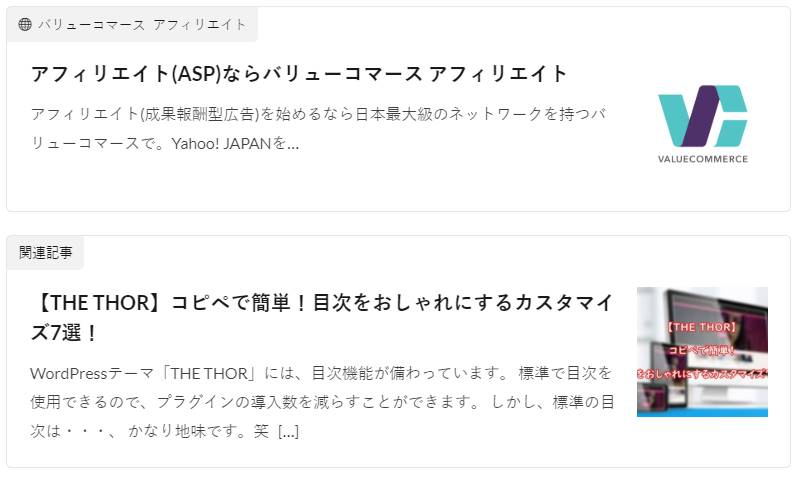
「関連記事」の文言は、ショートコード挿入時の文言を変更すれば、カード上でも変更されます。
例えば、「関連記事」の文言を「あわせて読みたい」と変更すると、下記画面のようになります。

サイトカード・ブログカードの挿入方法は以上となります。
サイトカード・ブログカードのカスタマイズ5選
サイトカード・ブログカードのカスタマイズを5選ご紹介します。
標準のサイトカード・ブログカードは少々地味になっています・・・。
コピペで使用できるので、お好みに合わせて変更してくださいね。
サブタイトルとボーダー色を変更
サブタイトルの背景色・文字色、カードのボーダー色を変更するカスタマイズです。
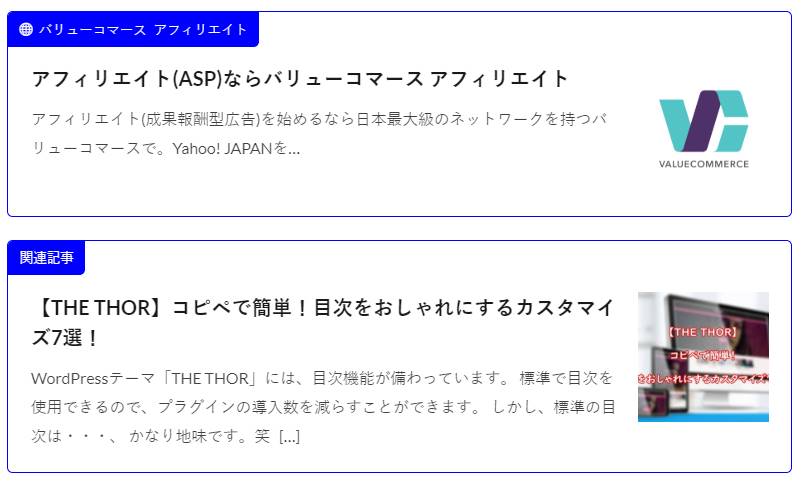
サイトカード・ブログカードそれぞれでCSSを用意しています。
/* サイトカードのカスタマイズ */

.content .blogcard {
	border: 1px solid #0000ff; /* ボーダー色 */
}

.content .blogcard__subtitle{
	background-color: #0000ff; /* 背景色 */
	color: #ffffff; /* 文字色 */
}

/* ブログカードのカスタマイズ */

.content .sitecard {
	border: 1px solid #0000ff; /* ボーダー色 */
}

.content .sitecard__subtitle{
	background-color: #0000ff; /* 背景色 */
	color: #ffffff; /* 文字色 */
}
サブタイトルをボーダー上に配置
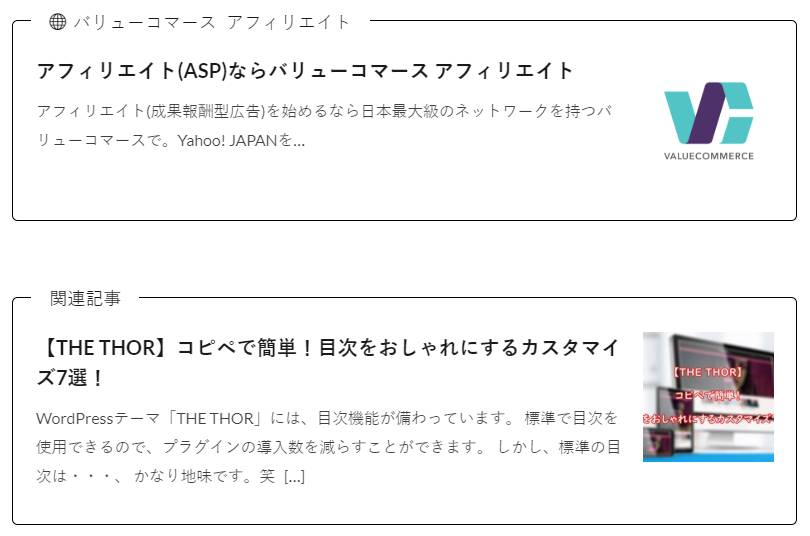
標準ではサブタイトルがカードの左上に配置されています。
それを変更し、カードのボーダー上に配置させるカスタマイズです。
/* サイトカードのカスタマイズ */

.content .blogcard {
	position: relative;
	overflow: initial;
	border: 1px solid black; /* ボーダー色 */
}

.content .blogcard__subtitle{
	position: absolute;
	font-size: 1em; /* サブタイトルの文字サイズ */
	padding: 0 1em;
	background-color: white; /* 背景色 */
	transform: translateY(-50%) translateX(1em);
}

.content .blogcard__contents {
	margin-top: 1.0rem;
	margin-bottom: 1.0rem;
}

.content .blogcard .eyecatch {
	margin-top: 1.0rem;
	margin-bottom: 1.0rem;
}

/* ブログカードのカスタマイズ */

.content .sitecard {
	position: relative;
	overflow: initial;
	border: 1px solid black; /* ボーダー色 */
}

.content .sitecard__subtitle{
	position: absolute;
	font-size: 1em; /* サブタイトルの文字サイズ */
	padding: 0 1em;
	background-color: white; /* サブタイトルの背景色 */
	transform: translateY(-50%) translateX(1em);
}

.content .sitecard__contents {
	margin-top: 1.0rem;
	margin-bottom: 1.0rem;
}

.content .sitecard .eyecatch {
	margin-top: 1.0rem;
	margin-bottom: 1.0rem;
}
文字色とボーダー色を少しおしゃれに
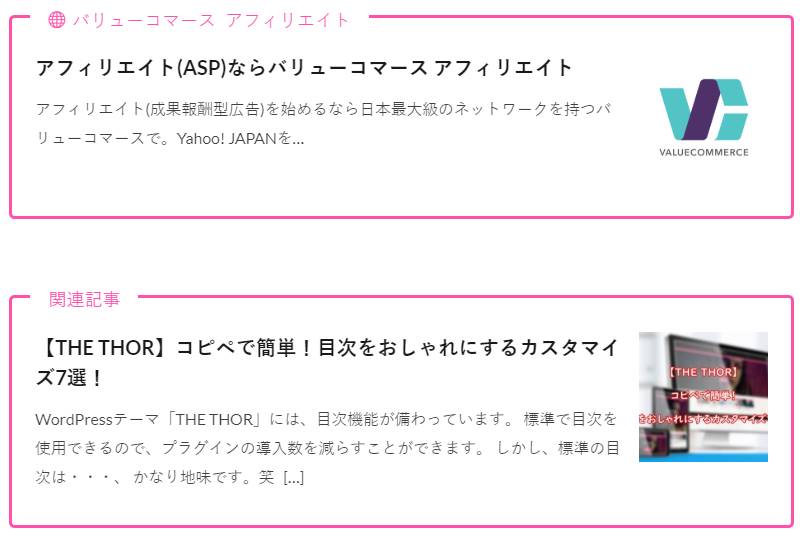
カードのボーダー上にサブタイトルを配置し、なおかつおしゃれな色を採用しました。
/* サイトカードのカスタマイズ */

.content .blogcard {
	position: relative;
	overflow: initial;
	border: solid 3px #ff51a8; /* ボーダー色 */
}

.content .blogcard__subtitle{
	position: absolute;
	font-size: 1em; /* サブタイトルの文字サイズ */
	color: #ff51a8; /* サブタイトルの文字色 */
	padding: 0 1em;
	background-color: white; /* サブタイトルの背景色 */
	transform: translateY(-50%) translateX(1em);
}

.content .blogcard__contents {
	margin-top: 1.0rem;
	margin-bottom:1.0rem;
}

.content .blogcard .eyecatch {
	margin-top: 1.0rem;
	margin-bottom:1.0rem;
}

/* ブログカードのカスタマイズ */

.content .sitecard {
	position: relative;
	overflow: initial;
	border: solid 3px #ff51a8; /* ボーダー色 */
}

.content .sitecard__subtitle{
	position: absolute;
	font-size: 1em; /* サブタイトルの文字サイズ */
	color: #ff51a8; /* サブタイトルの文字色 */
	padding: 0 1em;
	background-color: white; /* サブタイトルの背景色 */
	transform: translateY(-50%) translateX(1em);
}

.content .sitecard__contents {
	margin-top: 1.0rem;
	margin-bottom: 1.0rem;
}

.content .sitecard .eyecatch {
	margin-top: 1.0rem;
	margin-bottom: 1.0rem;
}
サブタイトルをボーダー上に背景付きで配置
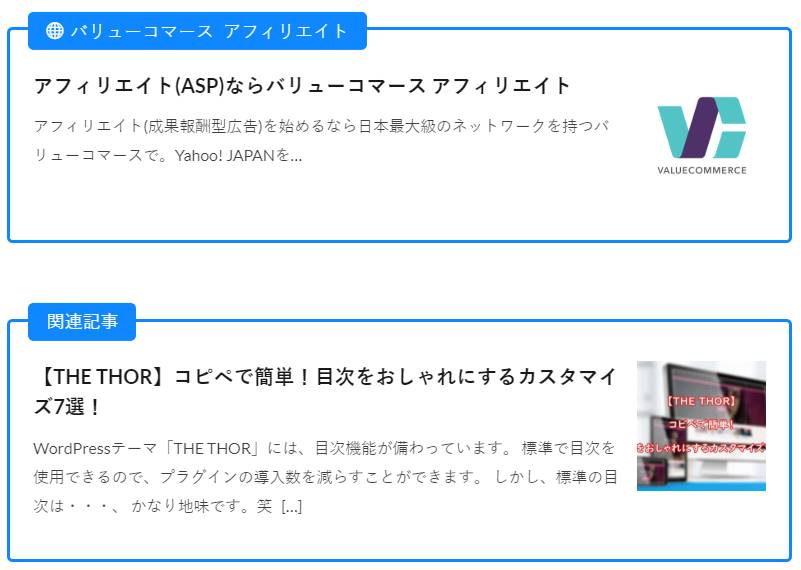
サブタイトルに背景色を付け、おしゃれ度をさらに上げてみました。
/* サイトカードのカスタマイズ */

.content .blogcard {
	position: relative;
	overflow: initial;
	border: solid 3px #0f87ff; /* ボーダー色 */
}

.content .blogcard__subtitle{
	position: absolute;
	font-size: 1em; /* サブタイトルの文字サイズ */
	color: #ffffff; /* サブタイトルの文字色 */
	border-radius: 5px 5px 5px 5px; /* サブタイトルボックスの角の丸み */
	padding: 0.2em 1em;
	background-color: #0f87ff; /* サブタイトルの背景色 */
	transform: translateY(-50%) translateX(1em);
}

.content .blogcard__contents {
	margin-top: 1.5rem;
	margin-bottom: 1.5rem;
}

.content .blogcard .eyecatch {
	margin-top: 1.5rem;
	margin-bottom: 1.5rem;
}

/* ブログカードのカスタマイズ */

.content .sitecard {
	position: relative;
	overflow: initial;
	border: solid 3px #0f87ff; /* ボーダー色 */
}

.content .sitecard__subtitle{
	position: absolute;
	font-size: 1em; /* サブタイトルの文字サイズ */
	color: #ffffff; /* サブタイトルの文字色 */
	border-radius: 5px 5px 5px 5px; /* サブタイトルボックスの角の丸み */
	padding: 0.2em 1em;
	background-color: #0f87ff; /* サブタイトルの背景色 */
	transform: translateY(-50%) translateX(1em);
}

.content .sitecard__contents {
	margin-top: 1.5rem;
	margin-bottom: 1.5rem;
}

.content .sitecard .eyecatch {
	margin-top: 1.5rem;
	margin-bottom: 1.5rem;
}
カードに影を付ける
サイトカード・ブログカードに影を付け、立体感を表してみました。
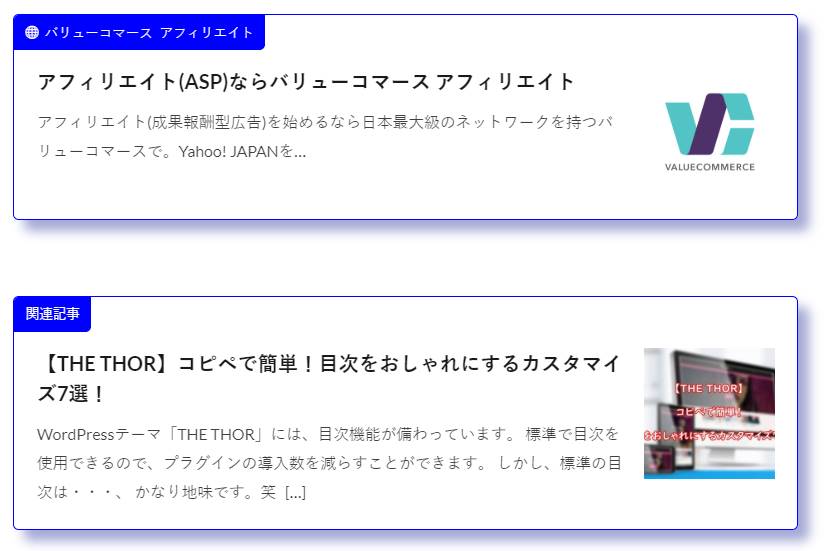
.content .blogcard {
	border: 1px solid #0000ff; /* ボーダー色 */
	box-shadow: 10px 10px 10px #a4a8d4; /* 影を付ける */
}

.content .blogcard__subtitle{
	background-color: #0000ff; /* 背景色 */
	color: #ffffff; /* 文字色 */
}

/* ブログカードのカスタマイズ */

.content .sitecard {
	border: 1px solid #0000ff; /* ボーダー色 */
	box-shadow: 10px 10px 10px #a4a8d4; /* 影を付ける */
}

.content .sitecard__subtitle{
	background-color: #0000ff; /* 背景色 */
	color: #ffffff; /* 文字色 */
}
まとめ
サイトカード・ブログカードのカスタマイズについて、ご紹介しました。
「THE THOR」の設計上、大きくカスタマイズすることは難しいです。
しかし、色の変更やサブタイトルの位置変更など、少しでもおしゃれにすることはできそうですね。

最後までお読み頂きありがとうございました。

